Converting M-Series Taillights to LED's
DP Dusenbury -- kaiser715
Contents ©2008 David P. Dusenbury
Converting M-Series Taillights to LED's
DP Dusenbury -- kaiser715
Contents ©2008 David P. Dusenbury
Here is how I converted my stock M715 tail lamps to LED's. Sorry, I don't have pics of the lenses before cutting them, but they were the ones that had the small oval tail light area, and blackout lights below.
First step is to remove the lenses, and take the guts from the lights. Don't worry if you have to drill out the screws that hold the guts, you won't need them again, but be careful removing the lenses. I had a couple of stubborn screws and broke one of them off in the housing.
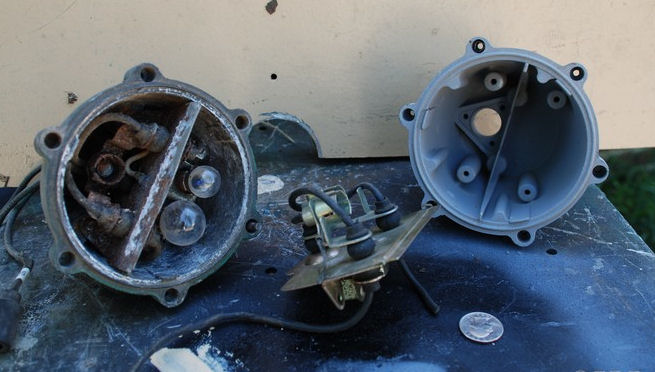
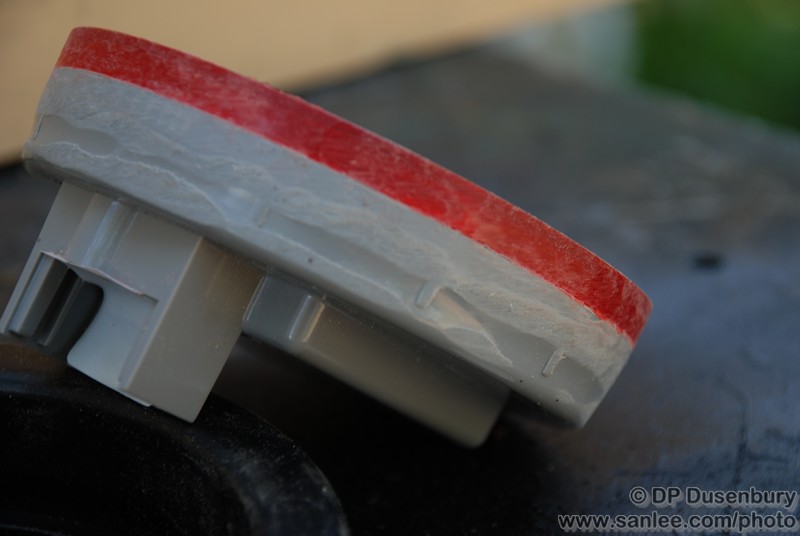
The LED's came from Harbor Freight. Normally 19.99 each, but they put them on sale for either 13.99 or 9.99 occasionally. They come in two styles, either with a rubber grommet, or a molded plastic flange. Get the grommet-mount, it will be easier. First, pop it out of the rubber grommet. In the following pictures, I have already trimmed them down, but before trimming there is a 1/8 to 3/16" ridge all the way around the light, about where the red lens meets the gray housing.
I used a stationary 12" disc sander to remove the ridge. There are plenty of other ways to do it, some require much more patience than I have.

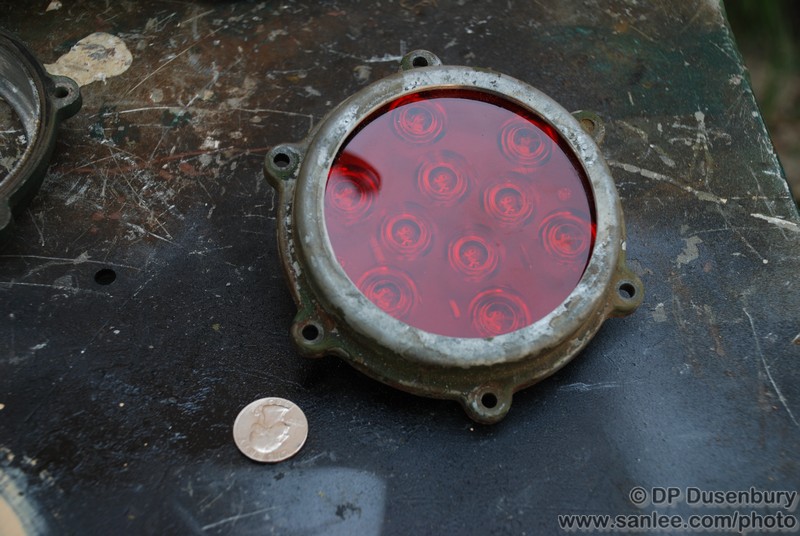
When I sanded off the ridge, I stopped just short of the red lens. After removing the ridge, the light was still just a bit too big to fit into the housing, so I gave it a spin on the sander again, taking off just a few thousandths from the overall diameter, cutting into both the red and gray plastic.
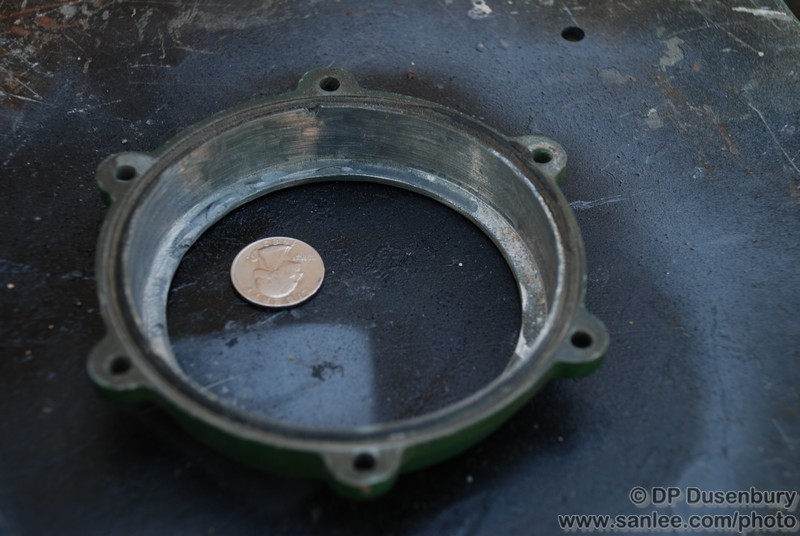
The outer lenses are aluminum. First, I removed the lenses by prying up the flanges in back that hold the lenses in. Sorry, again I don't have any "before" shots (it's hard to remember pictures when you are in the middle of something!). We had a metal lathe available, and centered the lens cover in a 3 jaw chuck, and used a center drill in the tail stock to drill a 1/4" hole in the exact center. There are many ways to find the exact center, this was just the quick and easy way for us, since a lathe was in the shop. Then we clamped each lens holder to the drill press table, and used a 4" hole saw to cut out the center of the cover.
There was still some metal casting inside the lens cover that would interfere with the LED, so I removed it using a Dremel. (The first ones were done with a Dremel mounted to the toolholder on the lathe, and manually rotating the chuck, which worked very well. However, I did the last two by hand with a Dremel, and it worked almost as quickly.)
Here is the LED set in the lens plate:
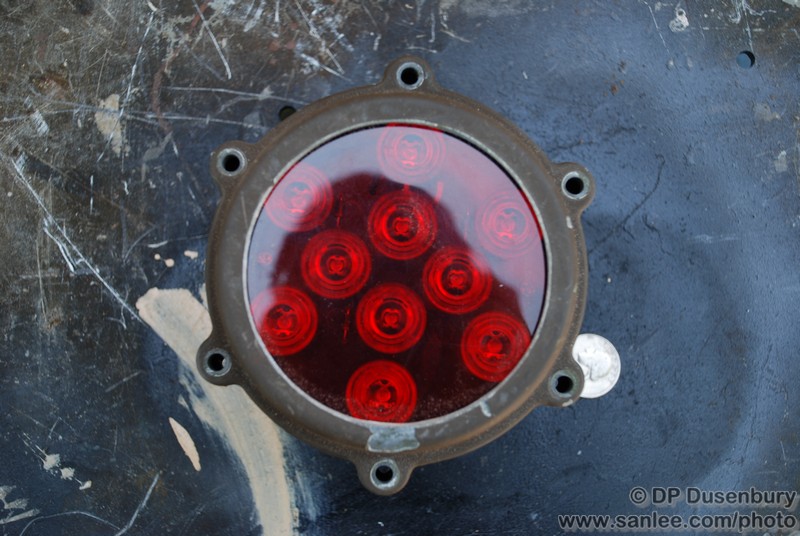
And a front view:
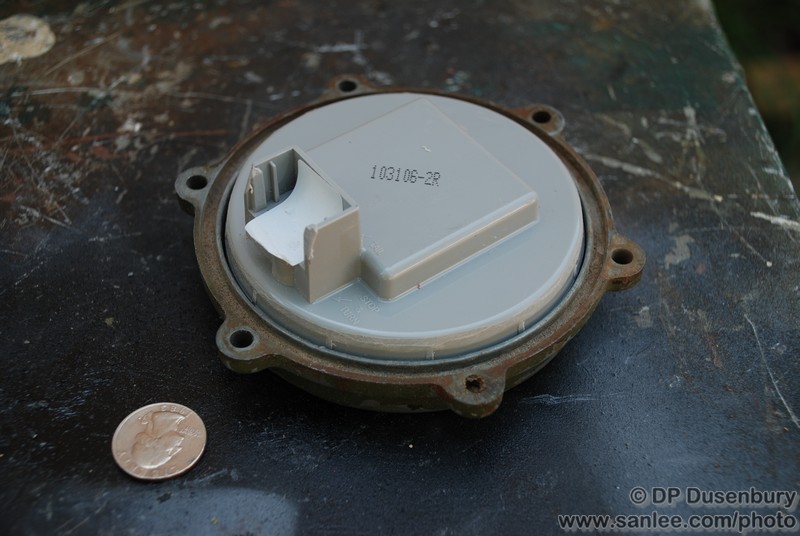
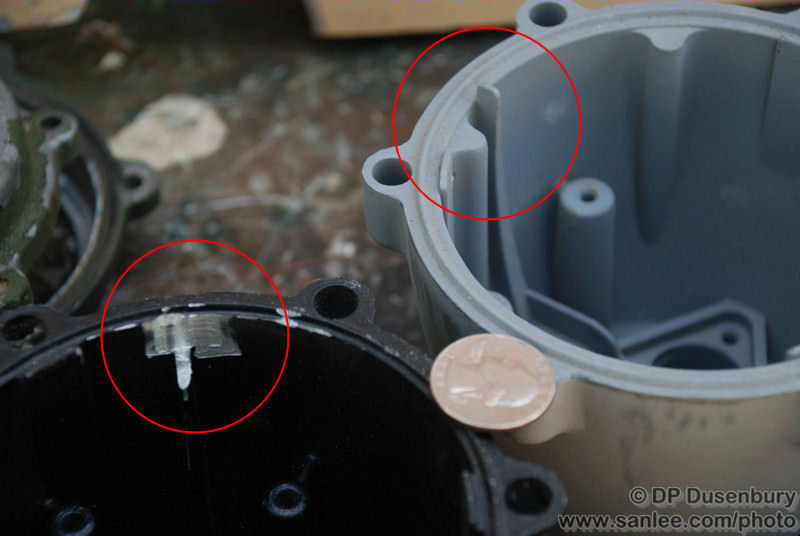
In order for the new lens assembly to fit into the light bucket, you have to trim a bit of the inside casting away. I just used a hand-held Dremel for this. You can see it in this pic:
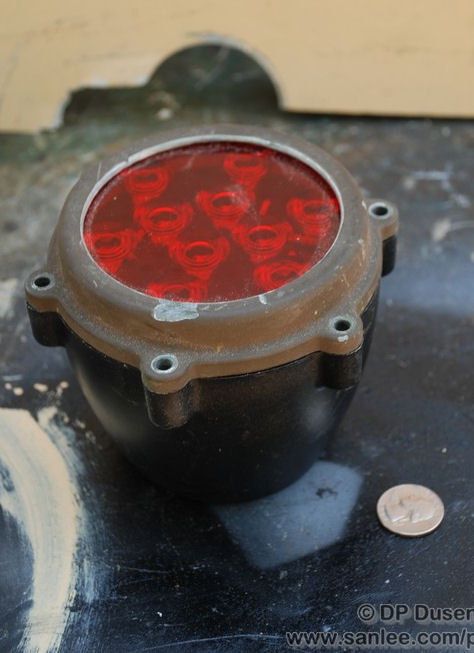
The finished product. I'll sandblast the lens holder, then paint, and finally epoxy or silicone the lens into place:
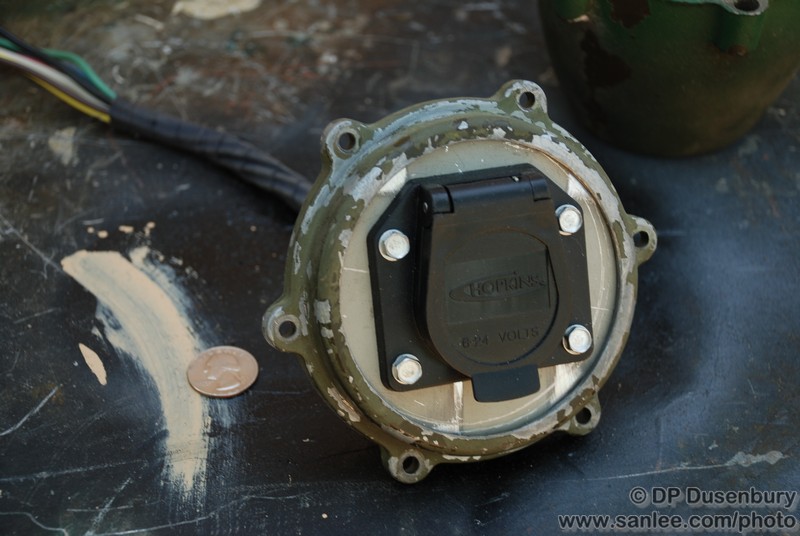
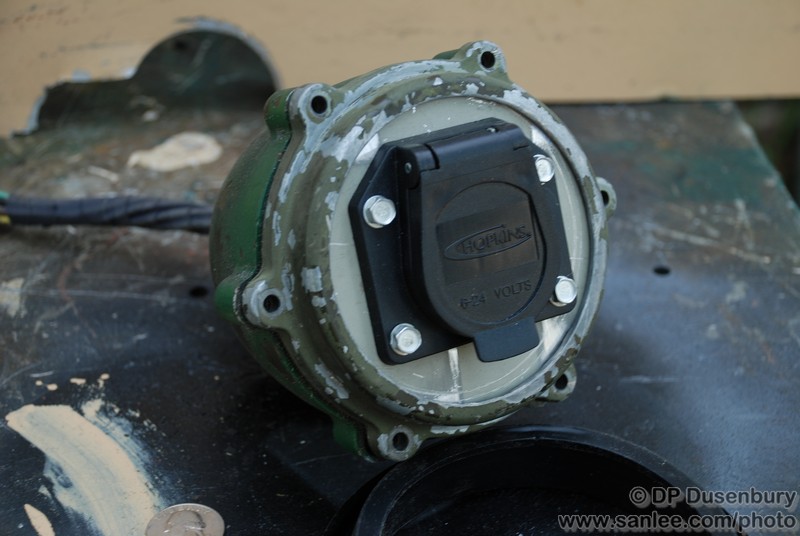
I had a spare light, so I also made a holder for my 7-blade trailer light connector, because right now it looks like crap on the flimsy mounting brackets those connectors come with. The lens flange is done the same way as above, and I made a 4" (just shy) diameter plate out of 1/8" aluminum, and mounted my trailer light connector.
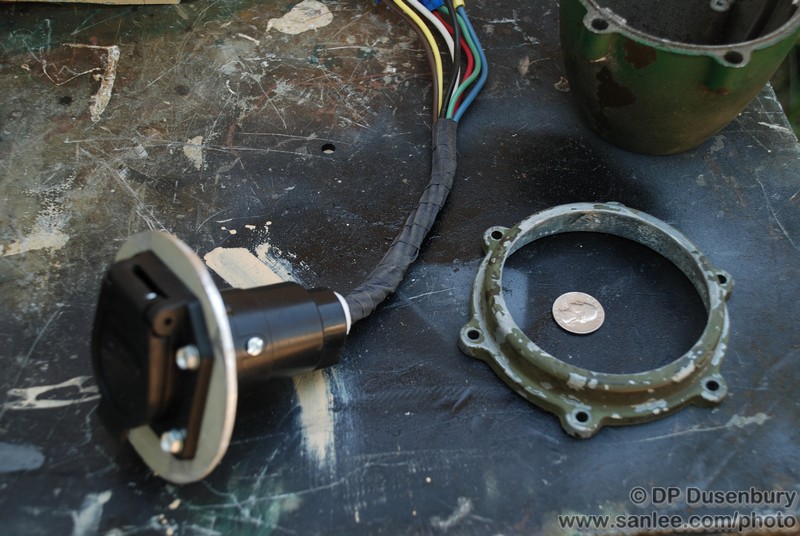
After cleaning it up, I am going to have a buddy TIG the plate to the lens flange.
Text and photographs ©2008 DP Dusenbury
